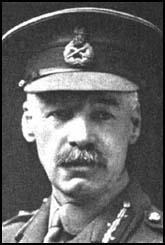
When originally formed in 1914 the Australian Imperial Force (AIF) was commanded by Major-General William Bridges, who also commanded the 1st Division.
After Bridges’ death at Gallipoli in May 1915, the Australian government appointed Major-General James Legge to replace Bridges in command of both formations.
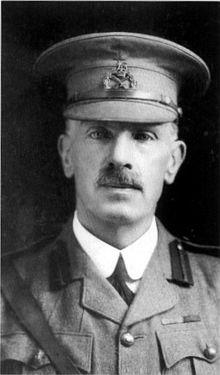
However, British Lieutenant-General Sir John Maxwell, the commander of British Troops in Egypt, objected to Legge bypassing him and communicating directly with Australia.
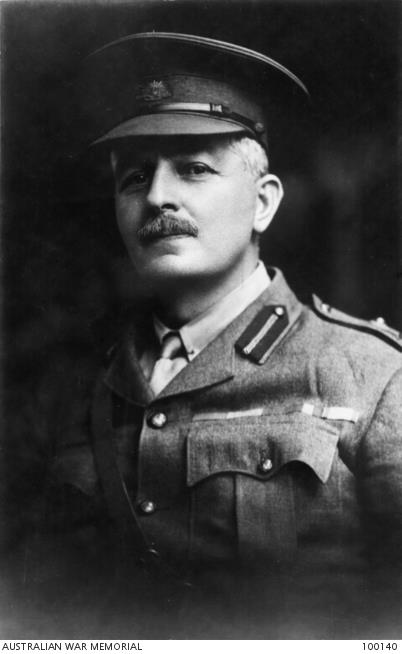
The Australian Government failed to support Legge, who thereafter deferred to British Lieutenant-General William Birdwood, the commander of the Australian and New Zealand Army Corps (ANZAC).
When Legge was sent to Egypt to command the 2nd Division, Birdwood made representations to the Australian Government that Legge could not act as commander of the AIF, and that the Australian Government should transfer Bridges’ authority to him. This was done on a temporary basis on 18 September 1915.
Birdwood was officially confirmed as commander of the AIF on 14 September 1916, backdated to 18 September 1915, while also commanding the I ANZAC Corps on the Western Front.
Birdwood retained overall responsibility for the AIF units in the Middle East, but in practice this fell to General Harry Chauvel as the senior Australian officer in that theatre.
Birdwood remained in command of the AIF until the end of the war and exercised administrative control until it was disbanded on 1 April 1921.
The Australian Corps
In the Official History of Australia in the War 1914-1918, Charles Bean dedicates a whole chapter to the story behind the creation of the Australian Corps.
I and II Anzac Corps were formed in Egypt in February 1916 as part of the reorganisation and expansion of the Australian Imperial Force and the New Zealand Expeditionary Force (NZEF) following the evacuation of Gallipoli in December 1915. The two formations replaced the original Australian and New Zealand Army Corps (ANZAC).
The Australian Government since appointing Birdwood as commander of the AIF had been desirous of him also commanding all the Australian divisions. Only the 3rd Division had been assigned outside of I Anzac Corps to II Anzac Corps under the command of Lieutenant-General Alexander Godley.
The fighting during 1917 imposed significant casualties in the Australian divisions which, combined with reducing numbers of reinforcements, gave cause to discussion on whether I and II Anzac Corps should be merged before winter. There was also consideration given to disbanding one of the five divisions in order to reinforce the other four.
Throughout the war there had also been a continuous effort to ‘Australianise’ the Australian unit; that is, to replace British commanders and staff members with qualified Australians.
After a degree of lobbying followed by horse-trading between commanders the I Anzac Crops became the Australian Corps under Birdwood’s command on 1 November 1917. The Australian Corps was assigned the 1st, 2nd, 3rd and 5th Divisions.
The announcement of the formation of the Australian Corps was met with delight across the AIF. General Haig simultaneously assigned the 3rd Squadron of the Australian Flying Corps as the ‘corps squadron’ as well as two Australian siege batteries as its corps heavy artillery.
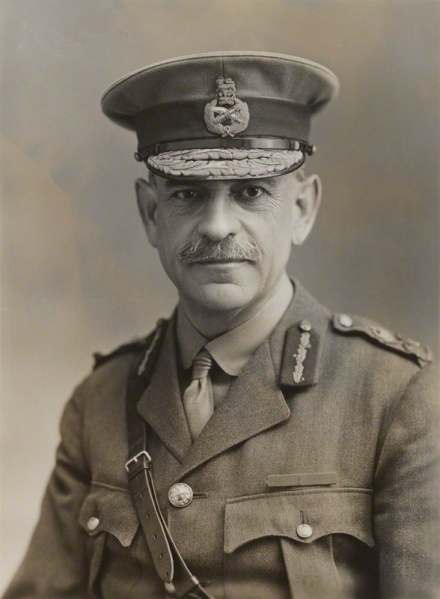
By this time four of the five divisional commanders were Australian officers. The exception was Major-General Ewen Sinclair-Maclagan, the commander of the 4th Division, who was a British Army officer seconded to the Australian Army before the war, and who had joined the AIF in Australia in August 1914.
The vast majority of brigade commands were also held by Australian officers. A number of British staff officers were attached to the headquarters of the Australian Corps due to a shortage of suitably trained Australian officers.
The Australian Corps was assigned to the 2nd Army and tasked over the winter to defend the now quiet Messines sector. The 4th Division was temporarily withdrawn to an area near Boulogne and act as a ‘depot’ division, but Birdwood referred to it as the reserve division.
But the 4th Division’s opportunity for rest and recuperation was short-lived and they were moved into reserve near Peronne under command of the 5th Army in early December 1917. A reorganisation in the first week of January 1918 saw the 4th Division re-join the Australian Corps near Armentieres.
In late March 1918 the Germans launched their Spring Offensive in the Amiens sector. The 5th and 3rd Armies bore the brunt of the assault.
The 4th Division was re-assigned to the 3rd Army and placed in defence at Hermaville, north–east of Arras. Soon afterwards, the 3rd Division under Major-General John Monash was also re-assigned to the 3rd Army.
The 4th and 3rd Australian Divisions were involved in the defence of Hebuterne, Dernancourt, Morlancourt and Villers-Bretonneux.
On 27 March General Sir Henry Rawlinson took command of the 5th Army from General Hubert Gough and Rawlinson managed to blunt the German advance and stabilise the front. The formation was renamed the 4th Army on 2 April.
The Germans then attacked in the Flanders sector where the Australian Corps with the 1st, 2nd and 5th Divisions remained. The 1st Division fought in the defence of Hazebrouck on 12 April 1918.
In the first days of April 1918 the 2nd and 5th Divisions moved south to join the 3rd and 4th Divisions in the line astride the Somme River and sectors were progressively re-assigned from the 3rd Army to the 4th Army.
On the morning of 7 April 1918 control of the Australian Corps was transferred from the 3rd to the 4th Army. The 1st Division re-joined the Australian Corps in June 1918.
When Haig decided to re-form the 5th Army in May 1918, he offered its command to Birdwood who accepted. Despite the Australian Corps being assigned to Rawlinson’s 4th Army, Birdwood retained command of the AIF.
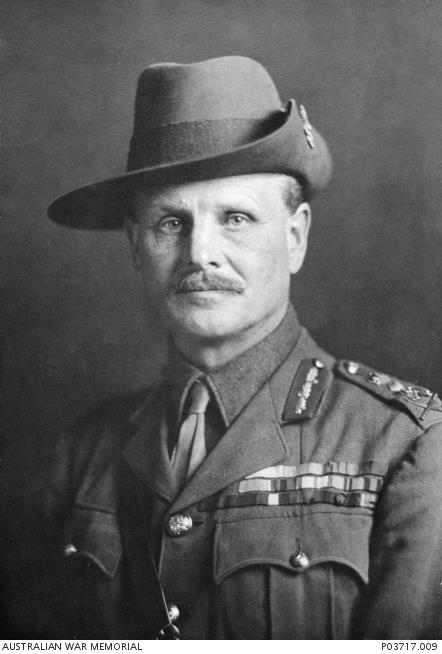
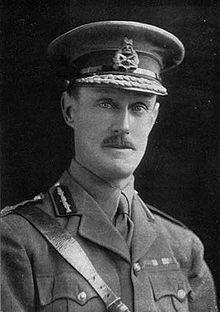
This paved the way for an Australian to assume command of the corps, the highest field command held by an Australian in the war. The two candidates were Major-General Cyril Brudenell White (Birdwood’s chief-of-staff) and Major-General John Monash.
Monash, who was senior, had experience commanding troops in battle and was favoured by Haig and Birdwood, got the post on 31 May 1918 and was promoted to Lieutenant-General.
The Australian Corps was used extensively throughout the Hundred Days Offensive during which it achieved great success. The Australian Corps was taken out of the line in early October 1918.
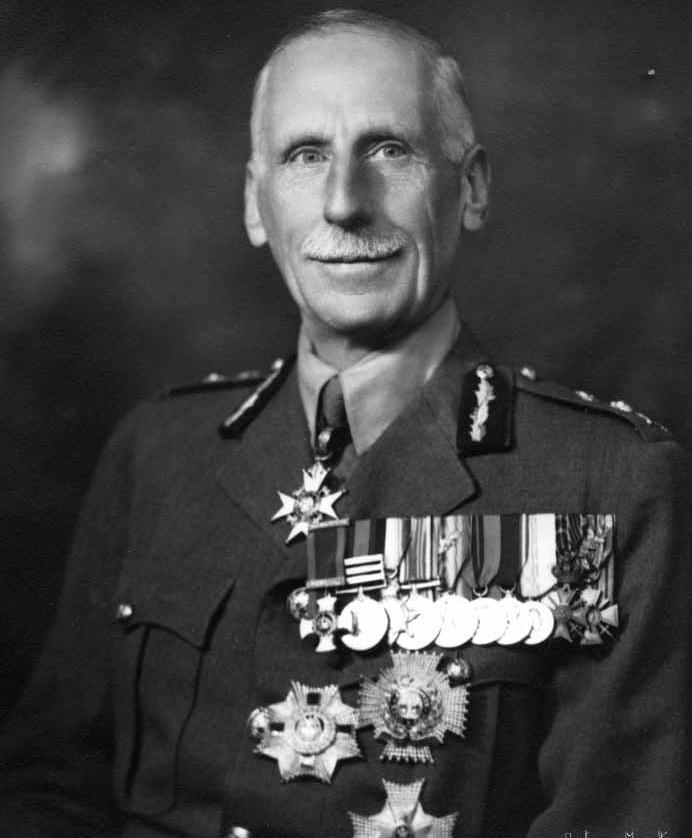
Following the Armistice on 11 November Monash was put in charge of the repatriation and demobilization of the Australian troops. Lieutenant–General Talbot Hobbs then commanded the Australian Corps until the formation was disbanded in May 1919.
Contact Marcus Fielding about this article.